
Creating an Indigenous plant-use garden: site assessment
Time Allocation: 30 minutes*
Activity Level: Complex
Introduction
Assessing a suitable site for your Indigenous plant-use garden is important. It can be the difference between developing a successful thriving garden or creating a place that has constant ongoing issues.
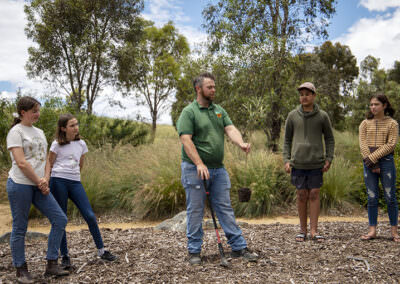
In this activity, we will be assessing local areas so to locate the best site for an Indigenous plant-use garden. Working in teams will help build skills for working together in the development of the garden and foster self-reliance.
*Time allocation is dependent on site selection and travel time.
Checklist
Instructions
 STEP 1
Understanding your site and the needs of your plants
Begin this activity at your location with an Acknowledgement of Country. By acknowledging the land, you are also making a promise that you will care for the land, the waterways, the plants and the animals.
Mapping and understanding the planned site will help you explore the possibilities and decide the best location for your Indigenous plant-use garden.
Consulting with your local Elders and First Nations peoples community is essential to learn about sacred sites and to include their perspective on appropriate sites.
Begin discussion by exploring what plants need to grow, including discussion around water, light and soil.
It is important to understand the type of soil existing in the planned site. Look at the Soil – more than just dirt learning activity to further understand different types of soil in local areas. Your local council or Landcare group may have more information.
Now think about the plants that you have included in your plant list activity and the growing conditions needed by these plants.
Does the planned site meet those conditions? How could you improve the conditions, e.g. water access, suitable soil?
 STEP 2
Where is the best location for our plant-use garden?
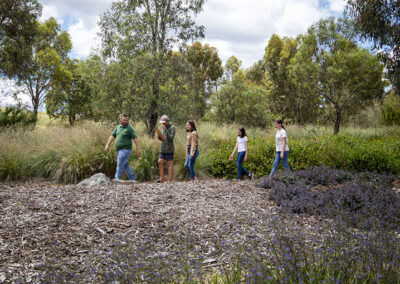
It is important to evaluate the site to determine the best location for your plant-use garden. Consider how accessible is the area for construction and maintenance, how to access water, availability of sunlight, the soil type and topography, and if it is sheltered from extreme weather.
Drawing your base map (Bird’s eye view)
Take a large sheet of paper (or use a portable whiteboard) out to the site. Find out what direction North is and add that to your map.
Draw a grid using a ruler to help draw to scale. Plot out the permanent fixtures of the site (such as paths, fences, taps, established trees, etc) and measure the distances of those features from each other. Record their location on your map. This map will be the base for you to draw the garden design from the vision activity.
Taking photographs of the site from different directions are a great record of your progress too.
 STEP 3
Drawing your vision
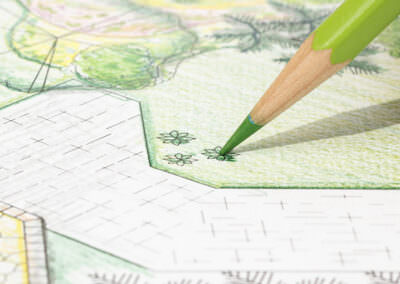
Using the base map and your vision, sketch out your garden design on the activity sheet.
This is best done in pencil so you can easily make changes. Think about the structures that you need to build such as paths or raised garden beds. You may like to use garden edging or mounds to represent the shapes of animals, a river or a significant landscape.
How could you tell a story or create a learning space for different people to use and enjoy? Consider what materials could be used to build these elements.
 STEP 4
Finalise your design
Use your prior sketches and maps to create the final design of the new garden on your activity sheet.
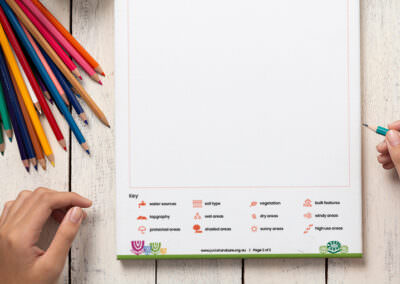
Remember to include which direction your garden will face and the permanent fixtures of the space (such as existing trees, paths, taps, fences, etc). You may wish to use a key and symbols to show what you are drawing. Using different colours and symbols is a great way of mapping out your elements. In your key, describe what each of these elements are made of (e.g. wood, plant, bricks).
Extension Activity
Extension 1
Imagine you were a bird flying above the garden. Draw what it would look like when the garden is completed.
Extension 2
Imagine you were visiting the garden one day. What do you think the Land your garden is on would have looked like in the past? What does it look like now? What would it look like walking towards it? Draw the main entrance to the garden. What will it look like into the future (when you’re an adult)?