
Creating a yarning circle: site selection
Time Allocation: 45 mins
Activity Level: Moderate
Introduction
Now that you’ve decided you would like to set up a yarning circle in your school or community, it is important to figure out where to place your seating area. Important things to consider include:
The physical area or location:
Seating:
Visibility and accessibility:
Once you have gone through the important considerations above, you can start thinking about how to design your yarning circle space to bring it to life.
The next learning activity ‘Creating a yarning circle: involving First Nations people’ will provide tips on how to get the local Aboriginal and Torres Strait Islander community as well as the broader school community involved.
Checklist
Instructions
 STEP 1
Introduction:
Begin this activity with an Acknowledgement of Country. By acknowledging the Land, you are also making a promise that you will recognise the Cultural practices of First Nations people.
Before you head outside, explain that today you will be comparing different sites to decide where to set up a yarning circle and to produce a persuasive argument about the preferred site.
 STEP 2
Site evaluations:
If you are able to work with a local Elder or First Nations group, getting their feedback about the pros and cons of a particular site can be valuable in helping to select the right location.
Begin by going to a location that you think would NOT be a suitable site for a yarning circle. Explain that you think this probably wouldn’t be a good site.
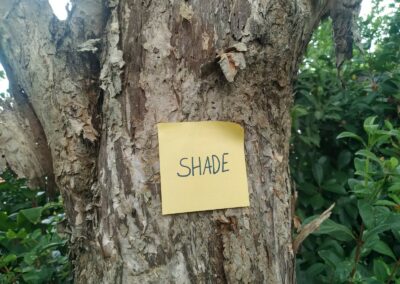
Hand out post-it notes and pencils.
Sit in a circle and ask the students to evaluate the site and explain whether there are positive or negative aspects to the location. Ask the students to record these ideas on a post-it note.
Repeat the process with the site(s) that could be better.
 STEP 3
Discussion and elaboration:
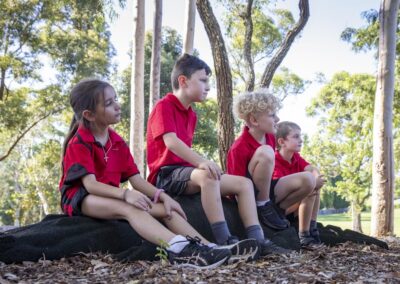
As a group, share your observations and the data collected on the post-it notes. If possible, it is a good idea to do this whilst sitting in the preferred space for your yarning circle. Some guiding questions include:
- How well do we all fit in this space?
- How do we feel when we’re in the area?
- How well can we see and hear one another? How well can we be heard?
- What access requirements might we need to consider in this space?
Consider the positive and negative aspects of the different locations.
 STEP 4
Persuasive writing:
Distribute the Writing Frame Activity Sheet.
Ask students to use the Writing Frame as a template to produce a persuasive argument. Their persuasive argument should be why the site chosen would be the best location to situate the yarning circle.
Present the arguments to School Leadership/Council and seek their feedback about the site you have selected.
Extension Activity
Either formally (with a sound meter) or informally, measure the volume of background noise at various parts of the school.
Using a map of the school, review the location of the admin office, classrooms and amenities, like bathrooms. Theorise as to why they have been located there.