
Propagating from fruit and vegetable scraps
Time Allocation: 30 minutes*
Activity Level: Easy
Introduction
Growing plants is a great way to introduce their features to young learners. In this activity you will be using fruit and vegetable food scraps that might have otherwise been discarded, to regrow or sprout new plants. A great way of engaging young learners in science is to encourage them to observe the new shoots and monitor how they grow and change over time. You will need to have your materials ready before you begin, so that the activity runs to the allotted time. This activity can be integrated with a cooking activity or aligned to a collection of fruit and vegetable scraps, so that resulting plants are produced authentically. *Time allocation will be dependent on having materials already prepared.
Checklist
Instructions
 STEP 1
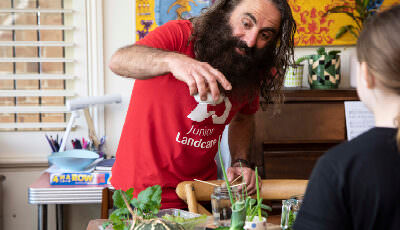
Engage
Watch our Junior Landcare videos with Costa to inspire the children and provide background knowledge to the learning activity.
Show the children some plants and identify the various parts of the plant.
Ask the children for some suggestions about the types of plants that they might propagate from scraps. Consider:
- Spring onions
- Onions
- Bok-choi
- Lettuce
- Carrot
- Celery
 STEP 2
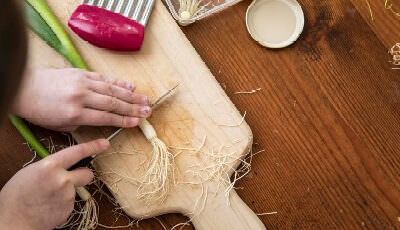
Prepare
Trim your scraps so that there is some remaining ‘core’ of the plant that will allow regrowth. A guideline is to leave a two-finger width of plant remaining and remove any browned off, or rotted vegetative material. This will maintain the integrity of the plant and help give it some energy to begin its regrowth.
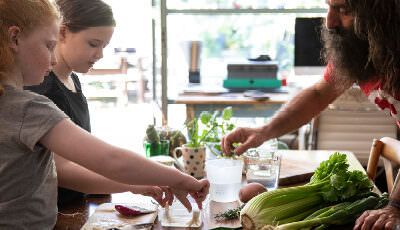
Use this opportunity to point out the features of your plant, ask the children to use their senses. What can they:
- See
- Smell
- Feel
This is a good time to ask the young learners about any wonderings that they may have. What are they thinking about this learning activity on how plants can be propagated?
 STEP 3
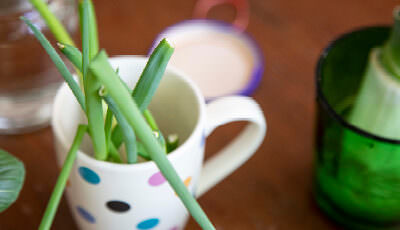
Regrow
Place the prepared scrap into a container with water. Ensure the plant can stand up: you may need to carefully trim the roots of the plant so they can stand independently.
Introduce the activity sheet and begin taking your initial observations.
 STEP 4
Monitor and Replant
As a group, study how your plant changes over time. Help your young learners to identify the newly sprouting parts of the plant.
Record your observations on the activity sheet.
Once your plant has sufficient roots and shoots, plant it in the garden. Continue to water, monitor and care for the plant help to help continue its growth.
Extension Activity
Growing from seeds. Now that you have mastered propagation from stems, try growing plants from seeds that you find in your kitchen fruit and vegetable scraps. Avocado seeds are a great way to demonstrate seed growth and are featured in this Junior Landcare Video.
Creating cuttings. Try propagating different plants by taking cuttings of plants such as mint, rosemary, pineapple, geranium, etc. What other plants would children like to try with this method? Learn from the results and care of the new plants created.