
Creating compost
Time Allocation: 30-40 minutes*
Activity Level: Moderate
Introduction
There are many different ways to create compost. This activity has been designed with the needs of the educators in mind and employs a simple method of composting. Before beginning this activity, it is important to gather the materials required, including the compost bin and a mixture of ‘green’ and ‘brown’ materials. Selecting an appropriate site for your compost is also important; choosing a site with good shade and direct contact with the soil is necessary for your compost to work.
We encourage our Junior Landcarers to learn more about soil by exploring these other learning activities: more than just dirt, soil food web, creating a worm farm, and the installing a no-dig-garden bed activities.
*The time allocation is based on materials being sourced prior to commencing construction.
Checklist
Instructions
 STEP 1
Prepare
Source the materials for the compost.
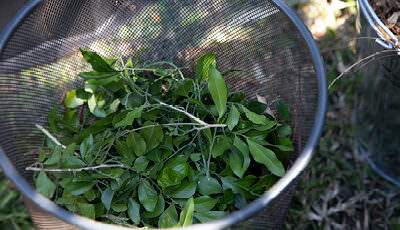
You will need a mixture of materials to compost, these are known as ‘browns’ and ‘greens’:
Carbons (browns) could be Autumn leaves, pea straw, lucerne hay, sugarcane mulch, moistened cardboard, shredded newspaper (not glossy paper).
Nitrogen (greens) could be lawn clippings, garden prunings, green leaves, kitchen peelings (too many food scraps can attract rodents see step 3) and coffee grounds. A ratio of about 60% “green” material to 40% “brown” material is ideal, but not essential.
 STEP 2
Explore
Before you head outside, encourage the children to think about how people use soil.
As a group, head outside to the proposed site.
Ideally, the site should be shaded most of the day, as the shade helps keep the compost at the right temperature.
The compost bin also needs to have direct contact with the soil beneath (i.e. not raised, or on concrete), so worms and other detritivores can move in and find the compost.
To prevent rodents ensure that your compost bin has no holes around the base and keep the lid closed.
As a group, investigate areas where decomposition of leaves and twigs occur naturally. This may happen in a depression in the ground, or under a bush. Examine how the leaves at the surface look, compared to the leaves that are further underground.
 STEP 3
Build and monitor the compost pile
First, dig the compost bin into the ground to a depth of about 10 to 15 centimetres. This will help to deter rodents from entering.
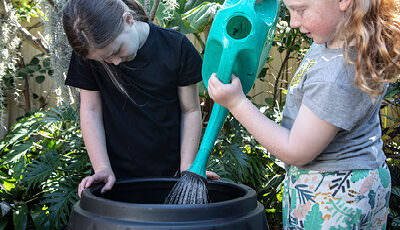
Next, construct a layer of sticks on top of the soil. This will help with aeration. Begin layering your green and brown material, stopping once you get to about 15 cm from the top of the barrel. Finally, water the compost to help the composting process begin.
 STEP 4
Promote change
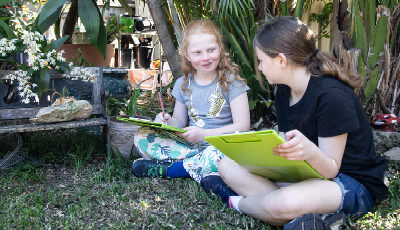
It’s time to spread the word about composting to help others learn from your experience.
Use the persuasive writing frame in the activity sheet to promote the benefits of composting.
Keep monitoring your compost over time to see whether you need to give it any assistance. Use the ADAM principles to assess whether it is working: Remember, ADAM stands for Aliveness, Diversity, Aeration and Moisture. If it is not working, look for what is missing. See educator notes for more information.
The time of year and weather in your area will affect how quickly the process takes. You will know that it is time to use your compost when it looks and smells like rich, dark earth. It should also be crumbly to touch.
Eventually your compost is going to become ‘black gold’; a valuable resource that can be used on garden beds.
Extension Activity
Use a thermometer to check the temperature of the compost regularly and record the results in a graph.
Use the World as an Apple exercise to illustrate how important soil is and the scarcity of this resource (see the educator notes for more information about this exercise).