Creating a worm farm
Time Allocation: 40 minutes*
Activity Level: Moderate
Introduction
An activity idea before you construct the worm farm, you may want to invite the young learners to form small groups and create a labelled cross-section drawing detailing the layers of the worm farm, this will help them understand the construction process. The young learners will need to have sound understanding of the purpose of a worm farm and the earthworms’ specific needs before commencing the worm farm construction. This activity will require adult supervision and some ground work to prepare the materials. Adequate preparation of materials beforehand is important and safety instructions are essential. The time allocation for this activity is based on constructing one worm farm.
*Time allocation estimate if all materials have been previously sourced.
Checklist
Instructions
 Step 1
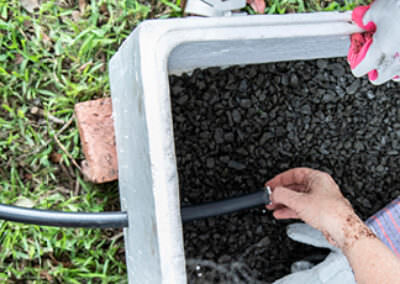
On one side (use the smallest side) of your polystyrene box, carefully create a hole big enough to fit your garden hose/pipe. This will form the drainage so our worms don’t drown.
To further assist with drainage, place the gravel or small rocks over the base of your polystyrene box. Next, place your geotextile fabric or fly wire and hessian over the rocks.
 Step 2
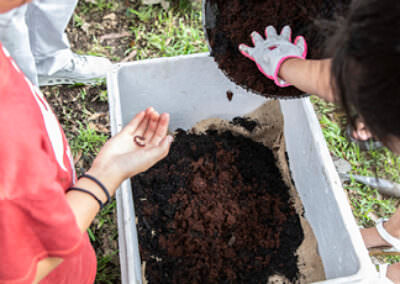
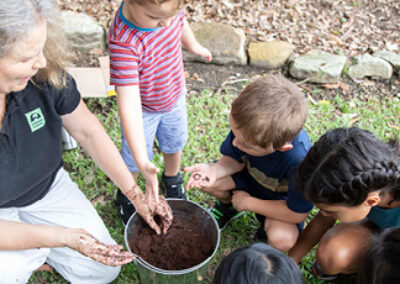
Add bedding materials for the worms- this may be garden soil mixed with organic matter such as compost and coconut fibre.
Water this layer.
Add a layer of composting earthworms to the bedding. The worms will congregate in the scraps or tunnel beneath the surface.
Add an insulation of damp straw mulch on top of this layer.
Water this layer to moisten.
Make sure you have a bucket to catch the ‘worm wee’ coming out of the garden hose/pipe. This liquid gold ‘worm wee’ would be good to irrigate your existing garden beds.
Place the lid on your polystyrene box. Make sure you place a couple of aeration holes on the lid.
Find a nice shady place for your worm farm. Rest your worm farm on bricks.
 Step 3
Now that your worm farm has been built, it can be good to wait a couple of weeks before feeding your worms with food scraps.
Ensure that your worm farm is kept moist, about the consistency of a wet sponge.
In the meantime, discuss what type of food scraps your worms would enjoy. What is good for them? Why?
Complete the activity sheet to create a poster to raise awareness of your worm farm and the food scraps that you are collecting!
 Step 4
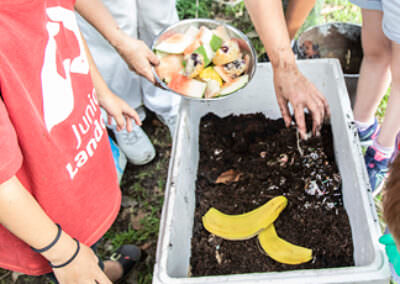
After a couple of weeks, add small pieces of food scraps in heaps on areas of the bedding surface.
To maintain your worm farm, you will need to:
- Ensure that citrus peel, onions, garlic and artichokes are NOT given to the worms.
- Ensure that the bedding remains a neutral environment, around pH 7. Sprinkling the surface with lime or dolomite will help keep the pH neutral.
- Keep the worm farm in a cool well-protected shady place, this can be either inside or outside.
Extension Activity
Investigate how worms grow, change and have offspring similar to themselves.
Now you know how to make a worm farm-make one for a neighbour, a community house, or a sports club!