Creating a food garden: installing a no dig garden bed
Time Allocation: 40 minutes
Activity Level: Complex
Introduction
Being involved in making a no dig garden is a great team building activity, it helps to establish plants very quickly without having to do heavy work of digging out a garden bed. As there is minimal disturbance of the soil layers in establishing this garden bed, it does not disturb existing soil life.
This activity will require adult supervision and some ground work to prepare and move materials. Adequate preparation of materials beforehand is important and safety instructions are essential. Having several helpers to contribute and fill in when others need a break will help this be an effective and efficient activity.
The time allocation for this activity is based on using a small garden bed space of about 2 metres by 1 metre. Larger areas will require more time, materials and assistance.
It would be ideal to have equal amounts of green and brown materials to layer in the garden bed.
Checklist
Instructions
 Step 1
Discuss the materials that you will need for your no dig garden bed. Ask the children what they think they will need to create a living garden soil. Discuss the benefits of carbon rich (brown) materials and nitrogen rich (green) materials.
Being ready with all your materials at the garden bed site location will save time and achieve the best results.
- Go through your checklist to ensure you have all the materials you need.
- As this is a step by step layering process, make sure you run through the plan with the children and outline the safety steps involved.
- Each layer will need to be watered in as this will settle the contents and enable best conditions for growth.
Have your garden border in place if you are making a raised bed. This can be untreated timber, bricks or straw bales.
No dig garden beds can be made without edging, however a path around the bed will help reduce weed build up.
 Step 2
If placing the garden bed on a non-porous surface like concrete, put a layer of blue metal gravel as the base. This will not be needed on a porous base.
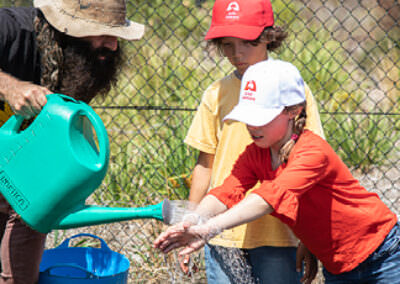
Cover the garden bed base with a layer of wet soaked cardboard, to act as a thick weed mat. Water this layer.
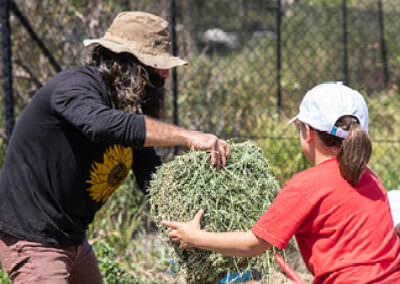
Place a thin layer of other green materials over your weed mat. Then place loosely thick layers of the straw mulch. This makes up a bulky layer of material. Water this layer.
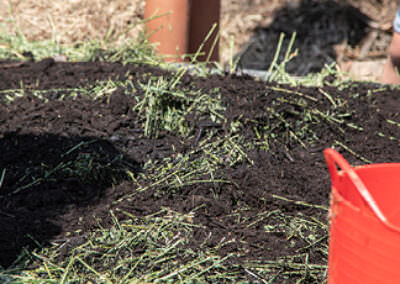
Put a layer of animal manure ensuring to sprinkle this on the straw mulch to help break it down. Water this layer.
Place another layer of other green materials on top of the animal manure. Then add another layer of the other brown materials. Water this layer.
Keep alternating between the other brown and green materials. Layering should stop about 30cms from the top to allow for the planting layer. Water this layer.
The top layer should be the vegetable garden soil mix or compost mixed with garden soil. Water this layer.
 Step 3
Now that the no dig garden bed has been built, it won’t be long until seedlings can be planted. It can be good to wait a week or so before planting to allow the new garden bed to settle.
In the meantime, clean up after your work by packing away materials and thoroughly washing hands.
Ensure your no dig garden bed is looked after appropriately. Establish a regular watering roster. Be mindful of water restrictions in your local area.
 Step 4
Using the activity sheet, discuss what kind of layers were used to create your no dig garden bed.
Is straw mulch carbon rich or nitrogen rich? Is animal manure carbon rich or nitrogen rich?
Discuss whether you used more green or brown layers. What benefits do these materials bring? What do you expect to happen over time?
Extension Activity
What do you think are the advantages of creating a no dig garden? How is this approach different to digging up the ground to create a food garden?
Besides using cardboard as a weed barrier, what are other ways or resources you could use that you could control weeds when building a garden?