
Creating a yarning circle: building the yarning circle
Time Allocation: 50 mins
Activity Level: Moderate
Introduction
This is an exciting stage of the project when you can start to think about HOW you will build your yarning circle. There are many things to consider here, for example:
What materials will you use for the seating circle?
Wood and stone are often popular choices as they will help to maintain a natural look and feel for your space. Always remember, however, that a yarning circle can be as simple as sitting down in a circle, on the ground or with cushions, and that having a large budget is not necessarily a constraint.
What is your budget?
Sandstone or professional wooden seating can cost anywhere between $5,000-$15,000, depending on how much labour, time and quantity of seating is required. If this is outside of your budget, you may need explore other options. For example, in urban and regional areas where there is lots of development/construction work going on, you could reach out to developers or construction companies, councils, etc. to see if they are getting rid of any materials, such as large stone pieces or wood, that could be donated to your school instead of going to the tip.
What cultural considerations do you need to bear in mind?
There may be traditional customs and beliefs when it comes to natural materials being removed from/introduced to Country. Where possible, your choice of material should be done in consultation with Traditional Custodians and First Nations community representatives. This applies to the use of more conventional materials like sandstone too, as it may not be a natural part of the landscape you want to bring it to.
1. Consult with the local First Nations community about the location, design and best choice of materials to use.
2. Speak with local businesses (preferably First Nations businesses) about quotes for materials, construction of the site, etc.
3. If your budget is small, reach out to your local council or developers/construction businesses in your area to enquire about material donations. Local business may also be willing to donate time to help construct/install materials. You can also look for grants and connect with your local Landcare group for guidance or ideas on available grants.
4. If you are not using a professional construction/landscaping company to install your yarning circle, set up a community or parent working bee with volunteers who have experience in this area.
Remember, there will be important safety considerations when building the yarning circle e.g. the operation of machines (bobcat, etc.) to shift heavy materials into place and making sure seating is fixed securely and won’t move or roll over, potentially causing safety issues.
Checklist
Instructions
 Step 1
Introduction:
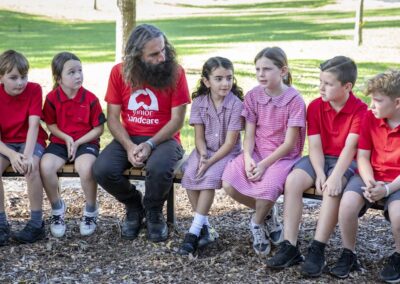
Begin this activity with an Acknowledgement of Country. By acknowledging the Land, you are also making a promise that you will recognise the Cultural practices of First Nations people.
As a group, discuss why accurate mapping will help to complete the project.
Review:
- How to draw a bird’s-eye view
- Perimeter
- Area
 Step 2
Head outside:
Explain that in this activity you will be mapping the space that will host the yarning circle – this includes the seating area and space around the circle.
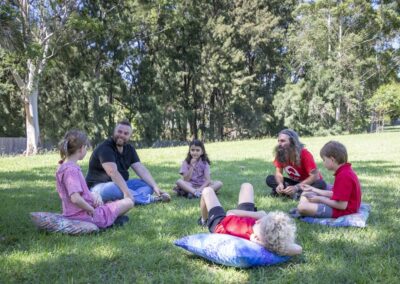
Go outside and sit in a circle in the space that the yarning circle will occupy.
Use chalk/charcoal or even a stick etched into the earth to mark out that circle.
Next, use chalk or witches hats to mark out the space around the yarning circle. This may include bush tucker garden beds, artwork, native trees or pathways.
 Step 3
Sitting in the yarning circle:
Sit in the yarning circle to see how it feels.
It is important to remember that if you do not have a budget to have a yarning circle built in your space, this is enough. Of course, it can be nice to have seating (rocks, logs, etc.) in the space but this is not essential. The act of sitting in a circle and being in contact with the earth is an important part of traditional yarning circles.
Distribute the Activity Sheets.
Discuss what other design elements will be in incorporated into the space, for example: rocks, artwork, Indigenous plants or a bush tucker garden.
 Step 4
Mapping the space:
In pairs, ask students to map the space and calculate:
- Perimeter
- Area
For older grades, you may wish to calculate the circumference of the circle too, or use a flexible measuring tape to work out this figure.
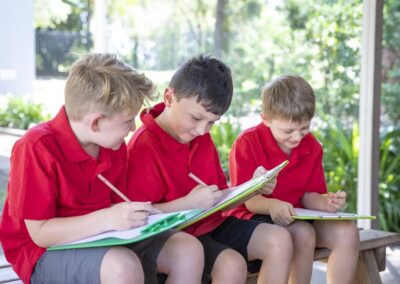
Using the Activity Sheet,ask each student to produce a site map of the space on their own.
When complete, share and discuss the individual maps as a group, considering any additional information that needs to be included.
As a group, share the maps, considering if there is any extra information that needs to be included, such as:
- Location of buildings and other features such as trees, gardens or equipment
- Visibility
- Ease of access
- Drainage
- Shade
- Wind
- Safety – for example trees that could lose a branch.
Extension Activity
Photopoint images: Take photos of your yarning circle site – to document the before, during and after phases of construction.
Materials investigation: Get in touch with Traditional Owners and find out what types of local materials such as rocks and wood are culturally important to First Nations people in your area.